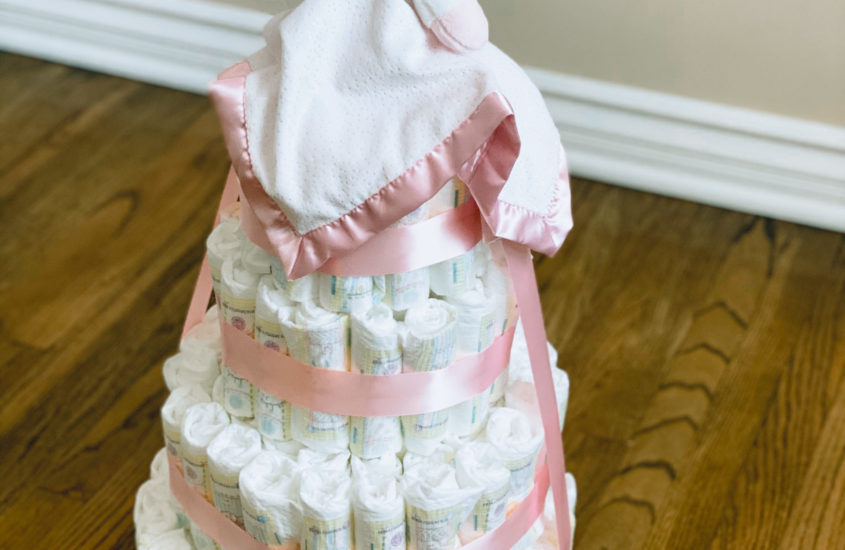
How To: Diaper Cake
I love crafting. I love it as much as I love sharing the excitement of my friends becoming moms!
I’m not a human mom (yet) so I don’t know exactly what new moms need except for diapers. Did you know the average baby goes through 8 – 10 diapers a DAY?! My dogs’ expenses don’t seem too bad anymore.
Diaper cakes have become baby shower staples. There are many different ways to make them. This is the easiest way I’ve found to assemble them with limited uh-ohs. (Only 1 hot glue gun burn later…)
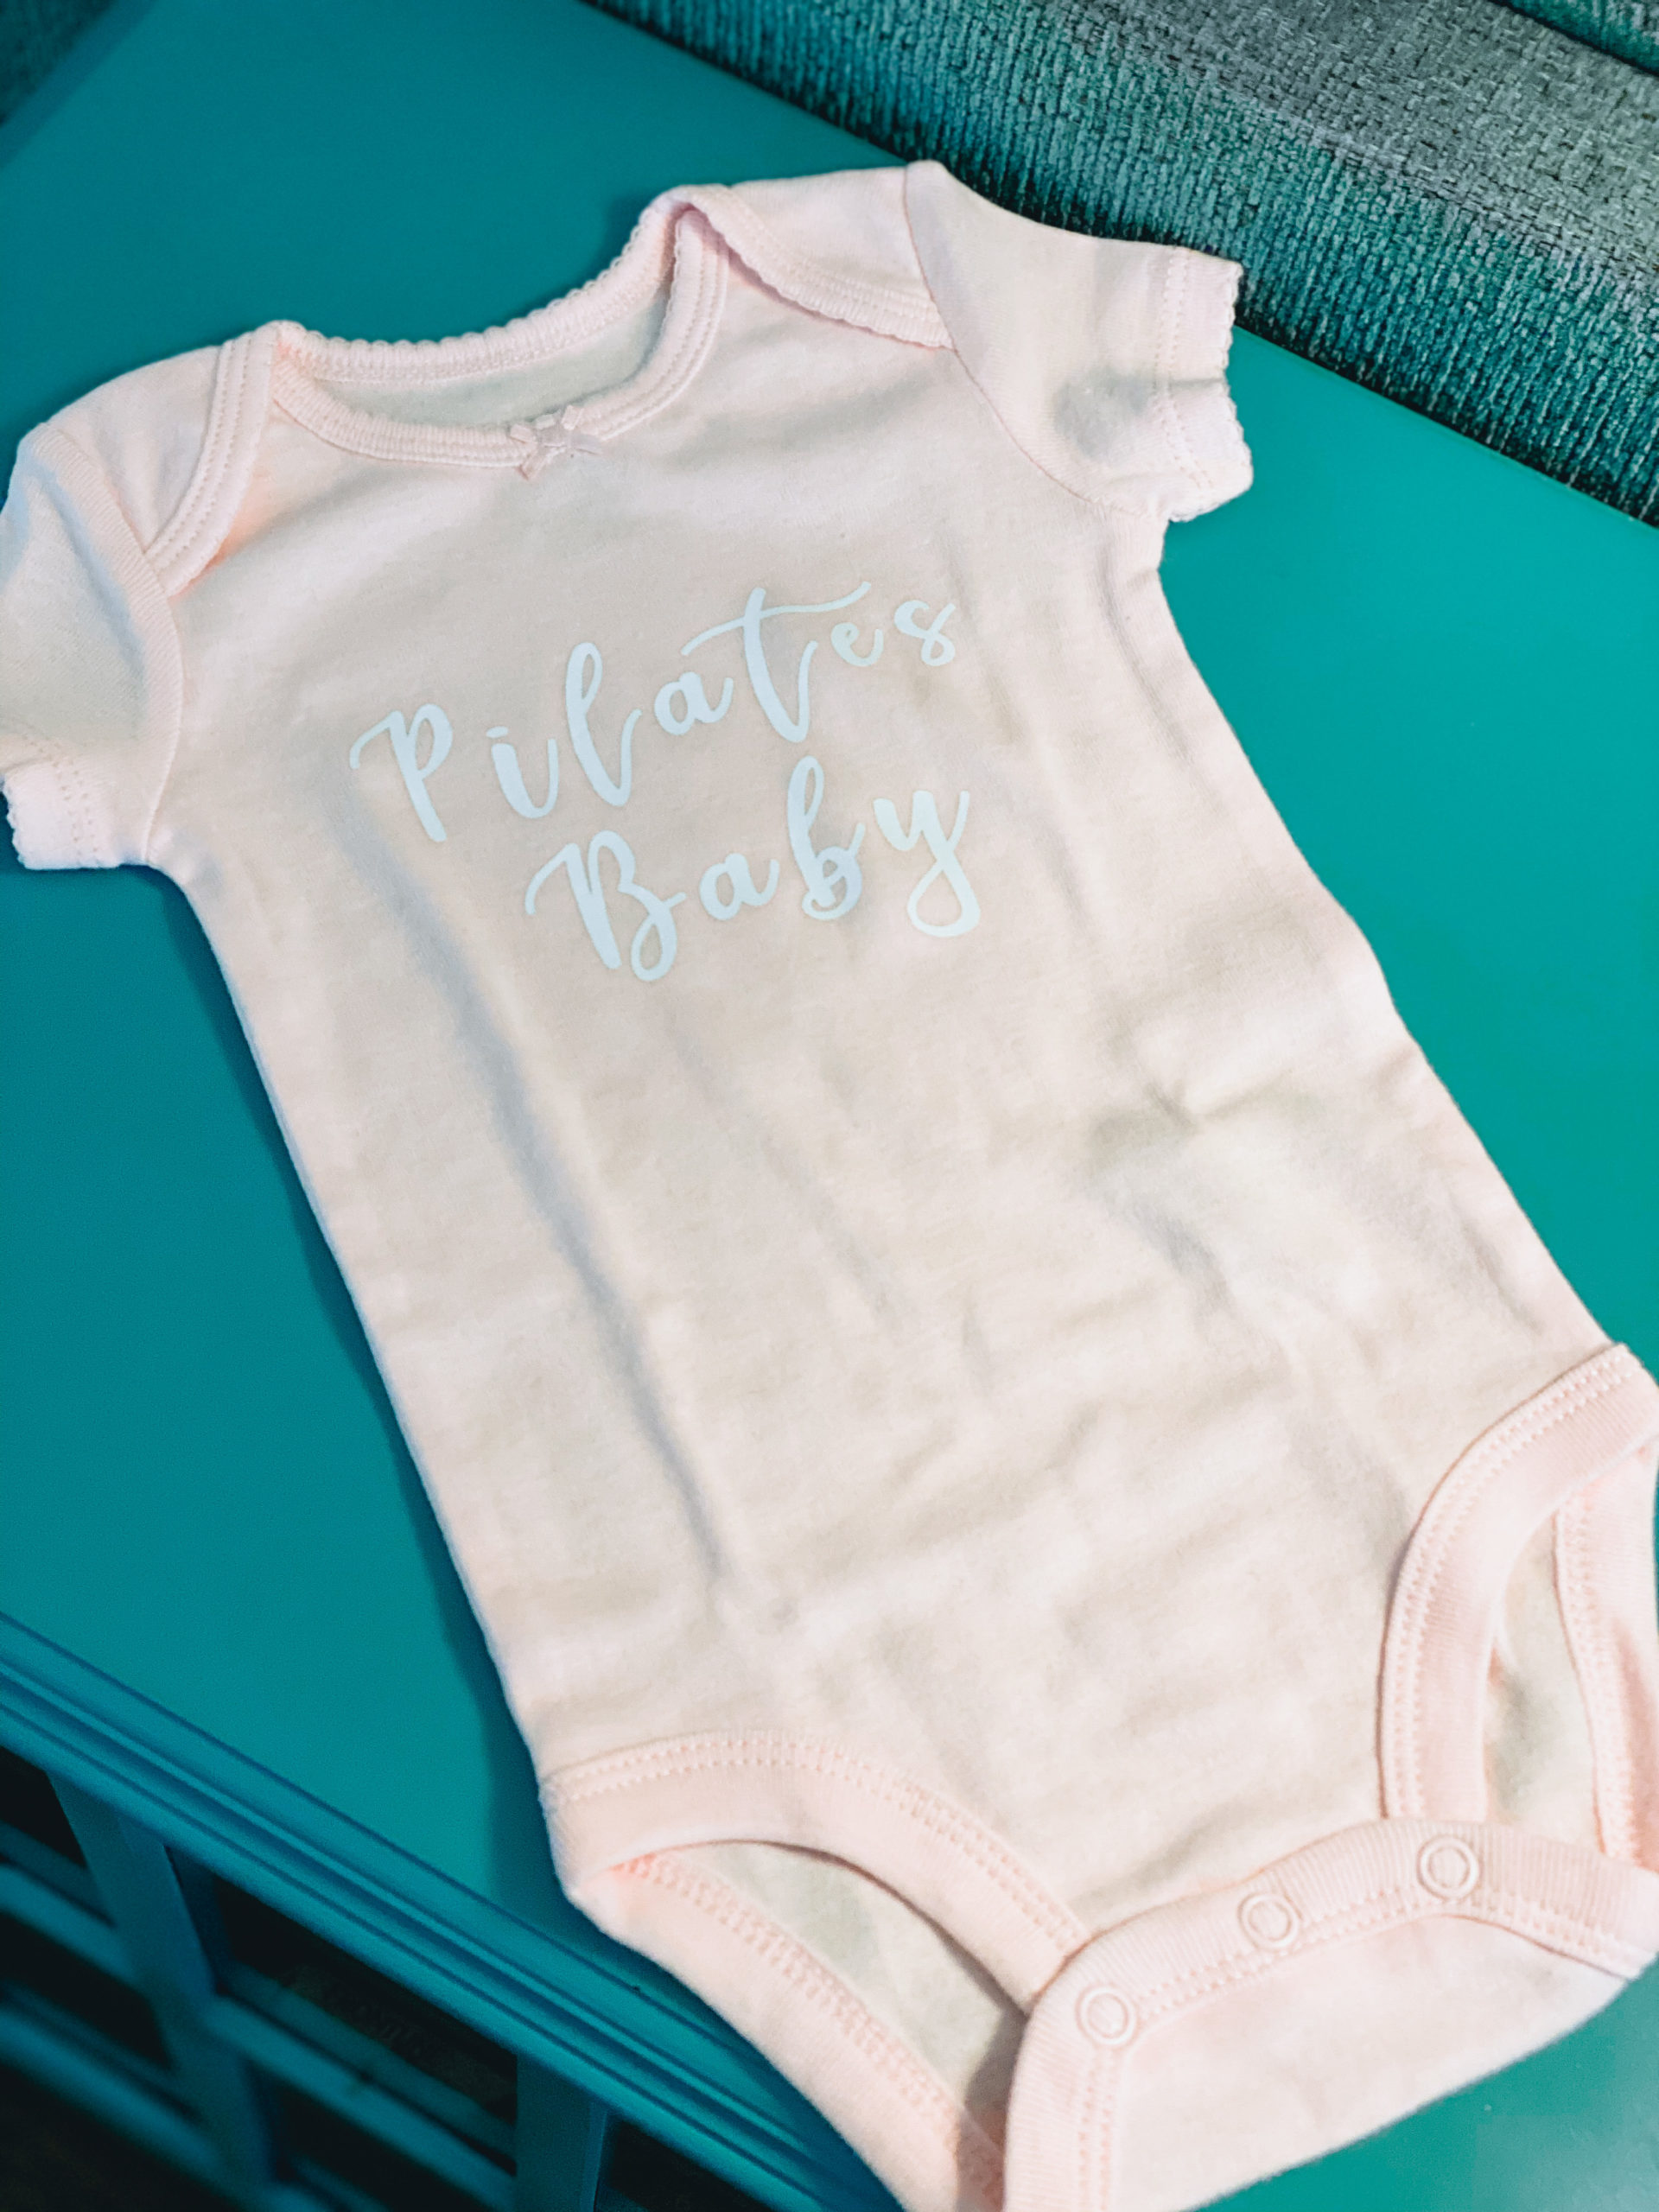
I made this one with all diapers but you can also roll and add onesies, bibs, wash cloths, burping clothes, etc. I made a onesie that I tucked into the side because I wanted her to be able to see it on first glance.
You can always make this smaller! (or larger, just be warned of the diaper smell that lingers! Ha!)
Start out by getting comfy and rolling all those diapers. It took me a little over an hour to get all 164 rolled. I like using the tiny bands because 1. they’re clear and 2. you don’t have to wrap them twice.
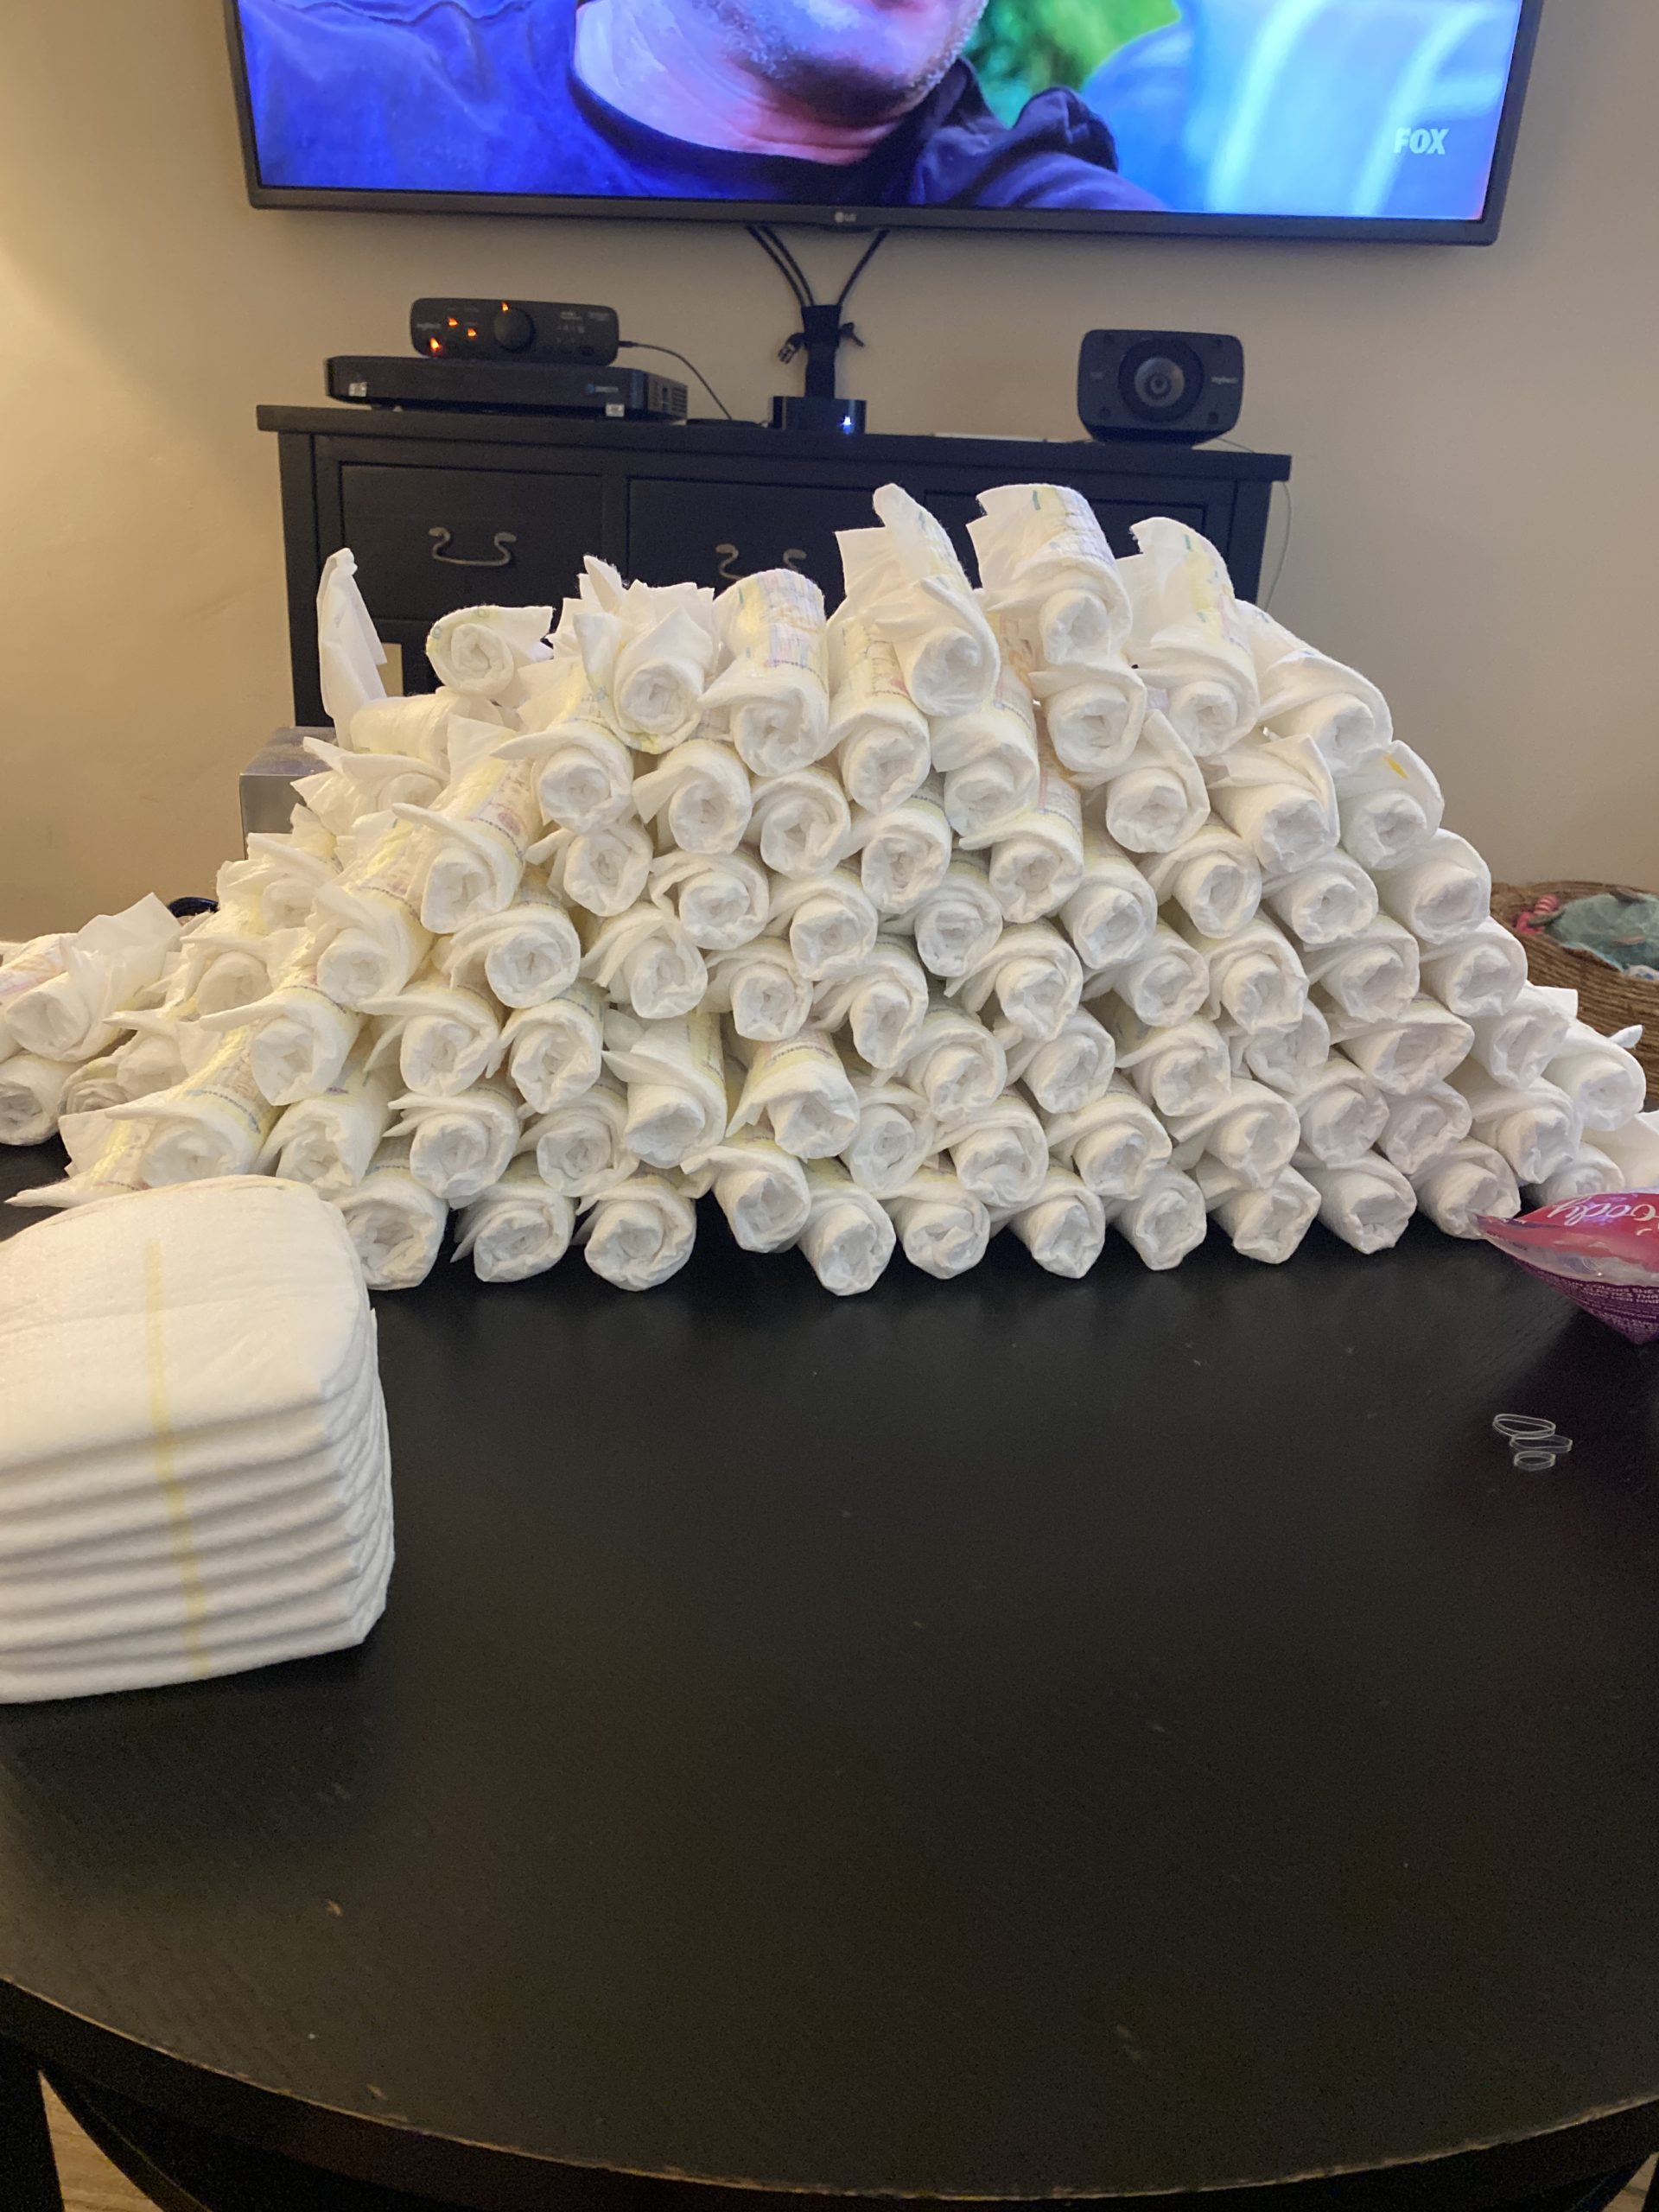
Casually watching “Labor of Love” while rolling diapers seemed fitting.
After those are rolled, place a paper towel roll in the center of a cake pan. Then start placing and stuffing the diapers around the roll. Try to make this tight!
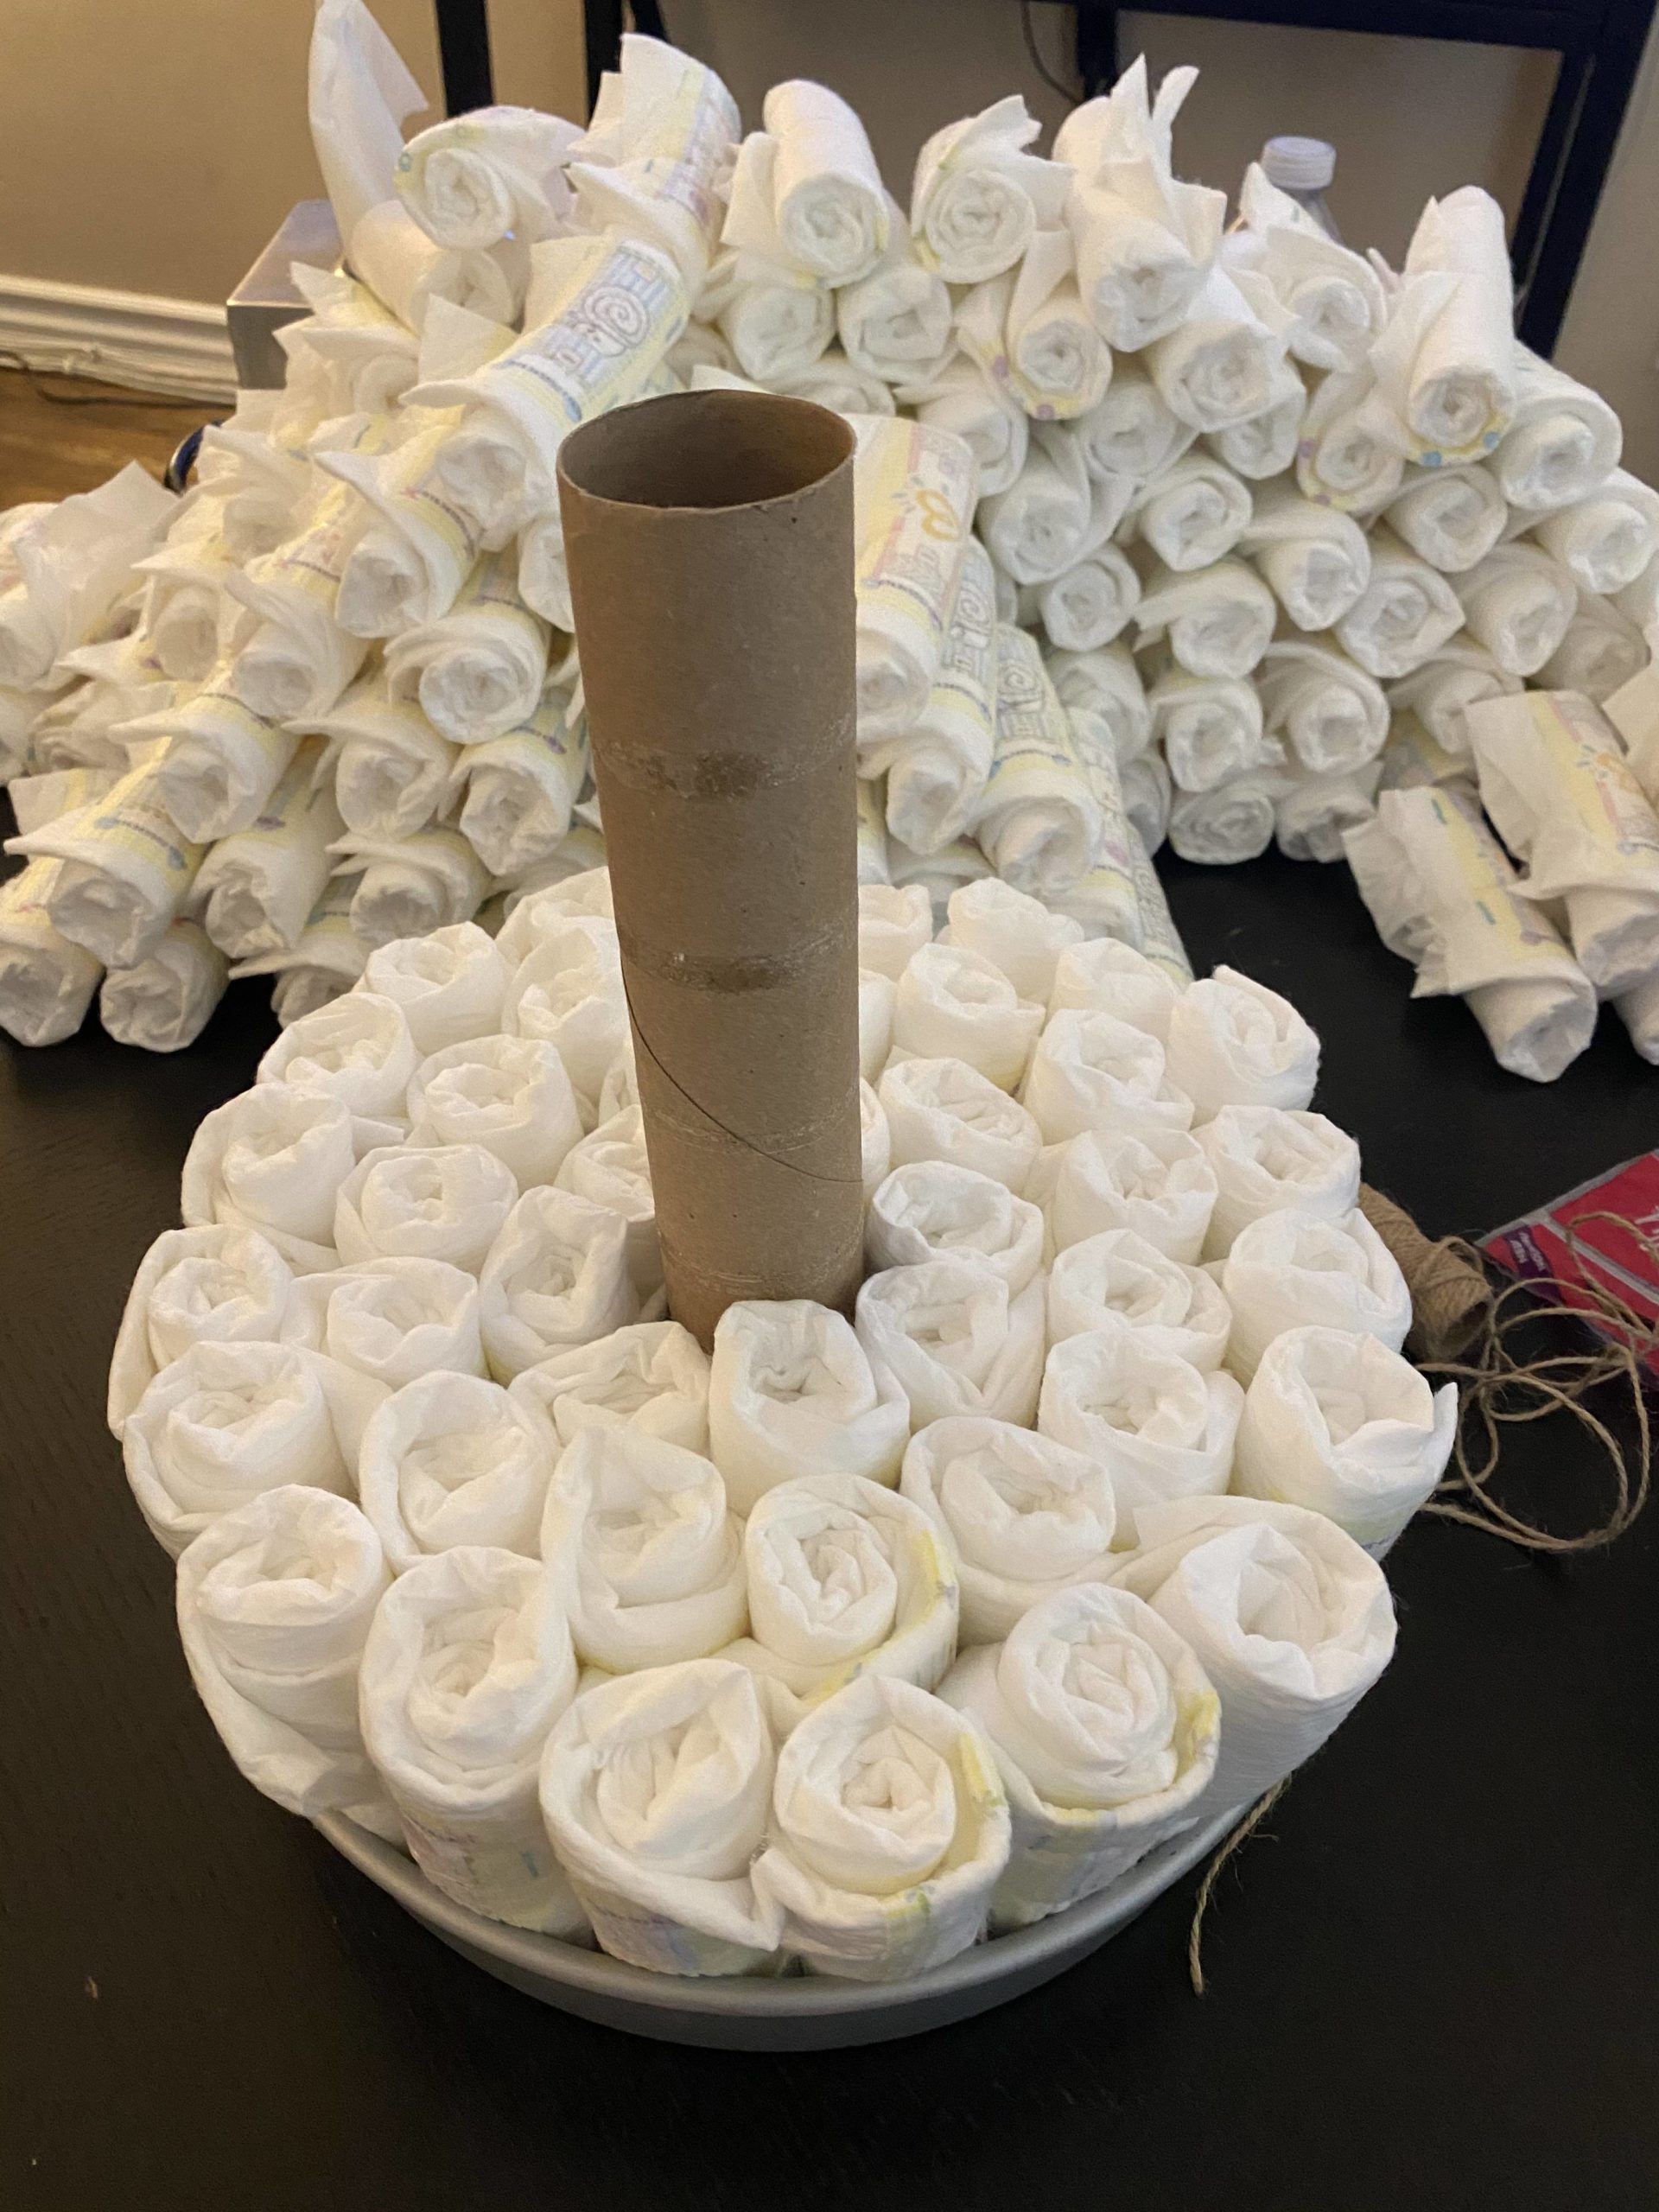
Tie string/twine tightly around the diapers. Carefully slide the cake pan off the bottom.
I added more diapers after removing the cake pan because I wanted it to be fuller and having the shape already established helped. I tied another strand of twine around the perimeter with some room to stuff more diapers in.
Put a rubber band around the paper towel roll and start adding more diapers on the second layer. The larger rubber band makes it easier to stuff them without falling all over the place. You can also use twine instead or as an extra way to hold them tight.

Continue with the third tier. I made a fourth tier because of how many diapers I still had, it barely wrapped around the top of the paper towel roll which is why I made sure I used ribbon to tie from the bottom to the top for security.
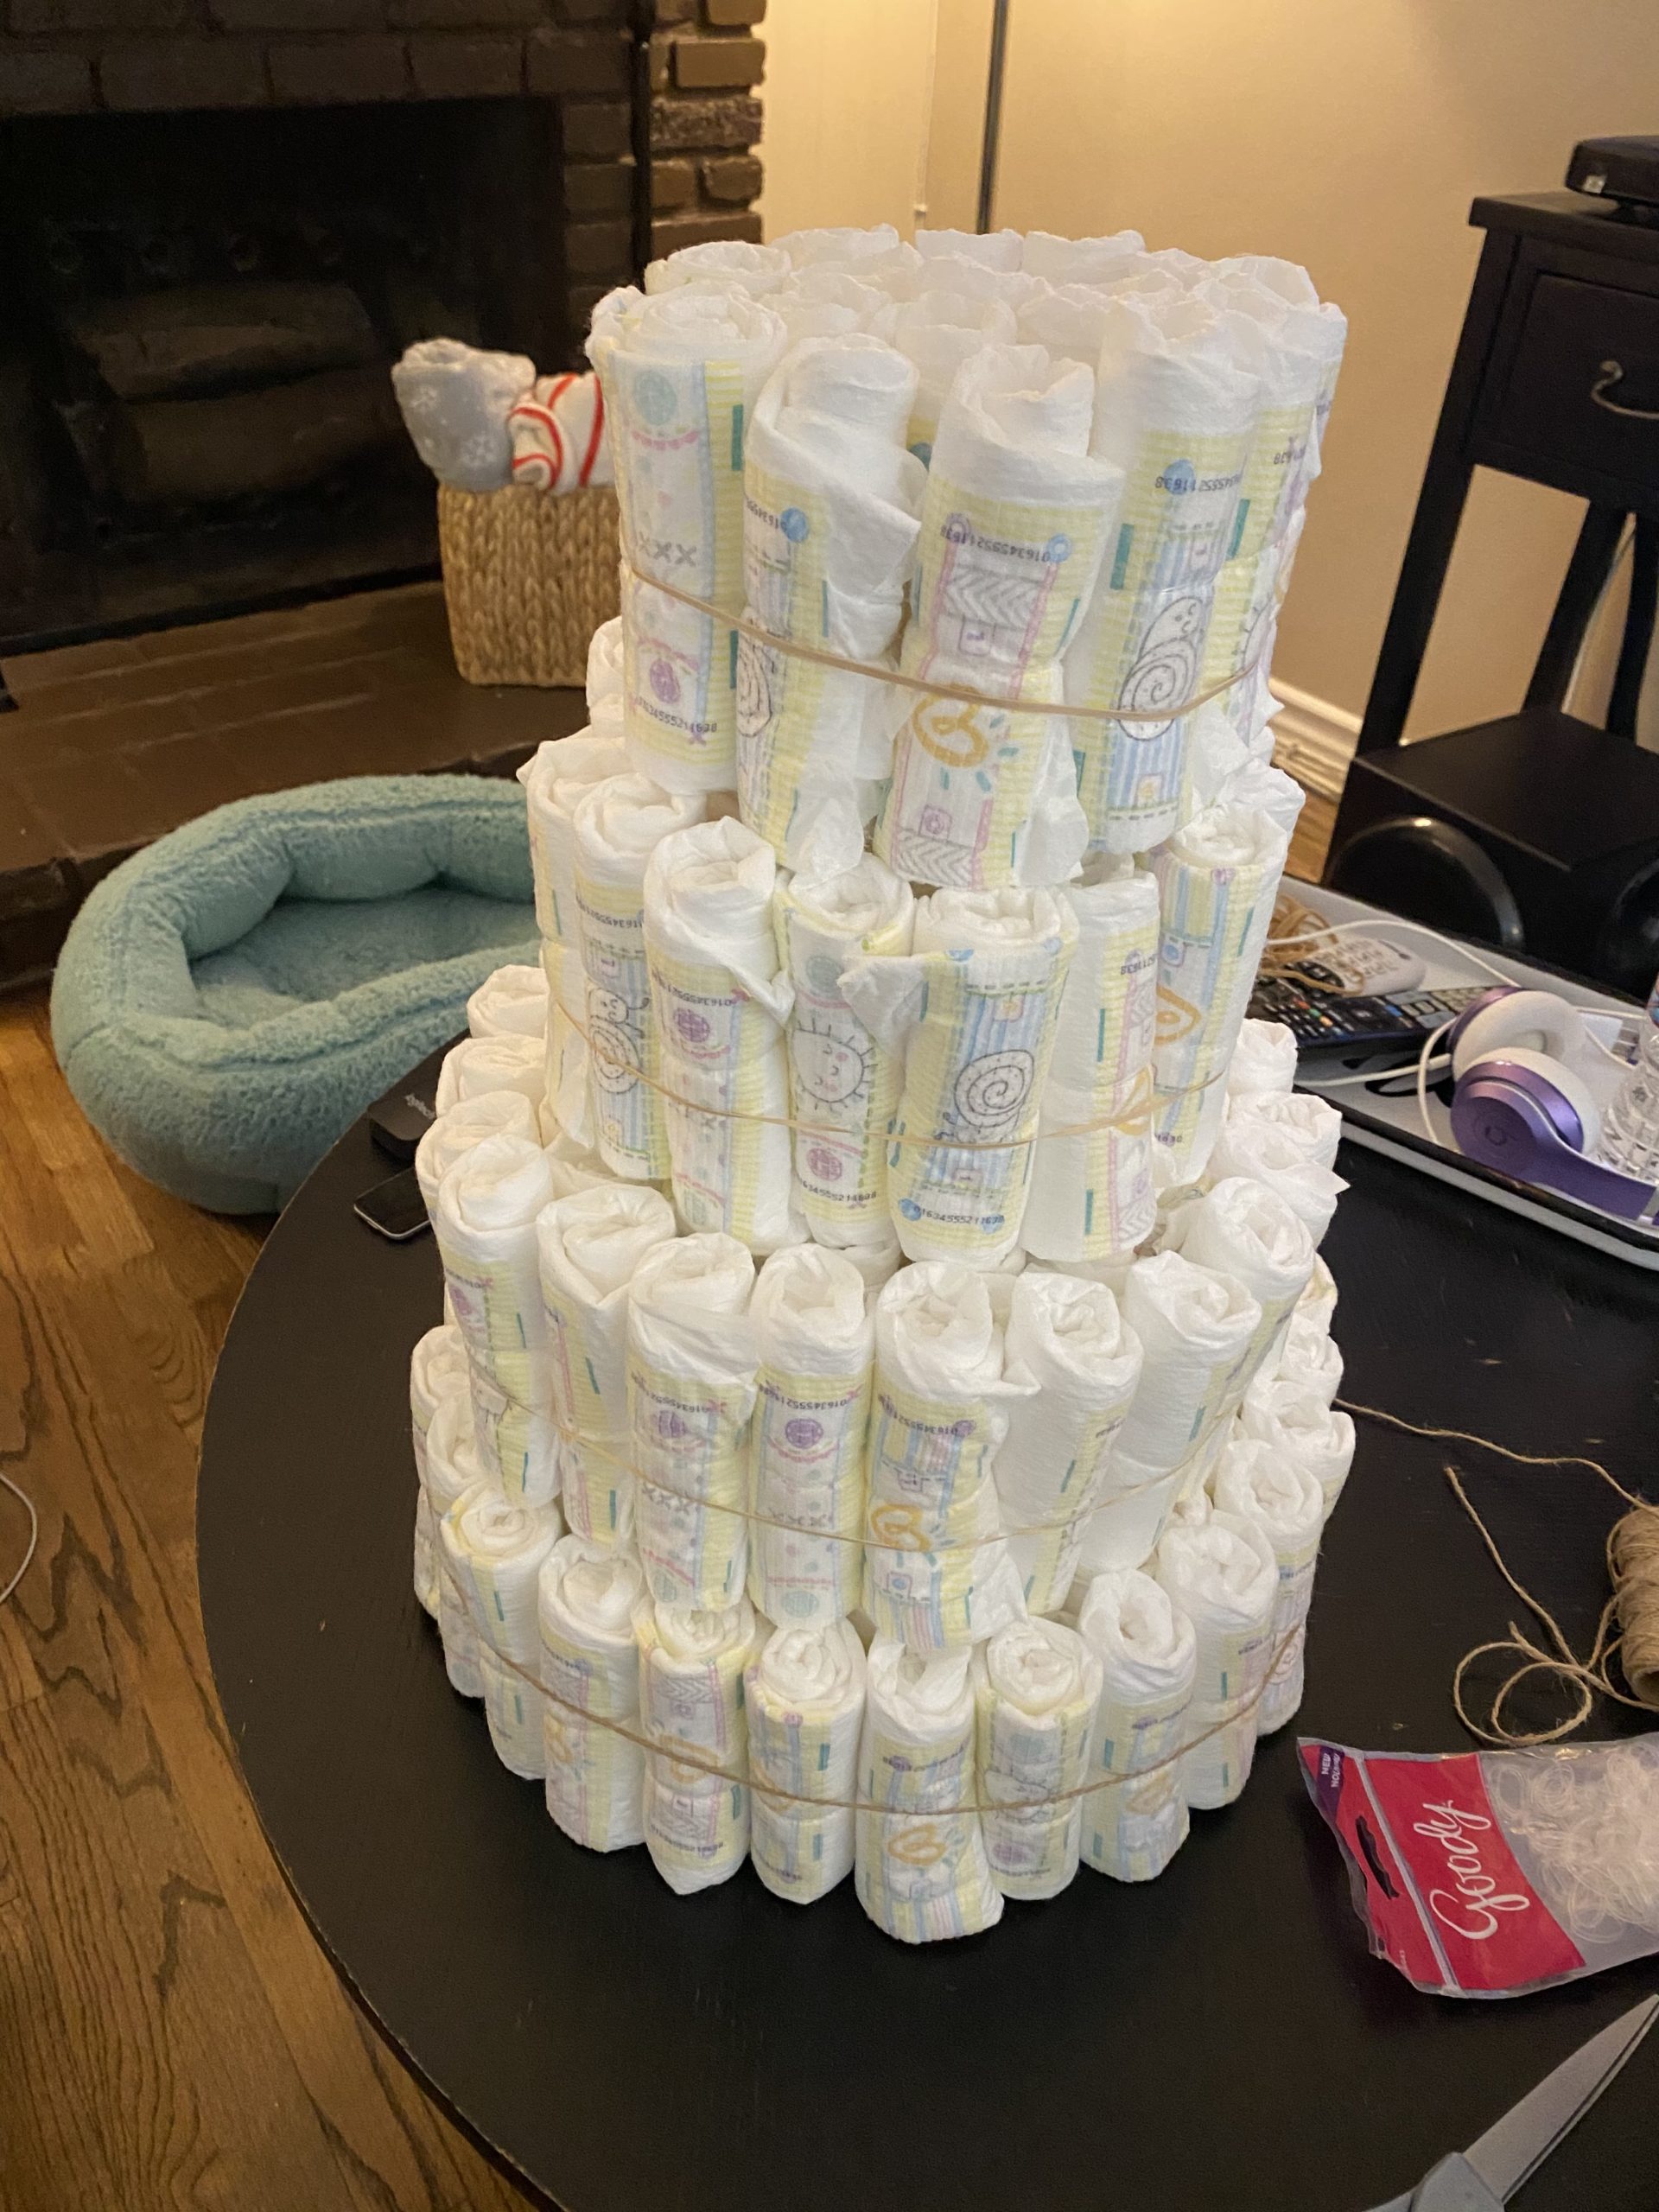
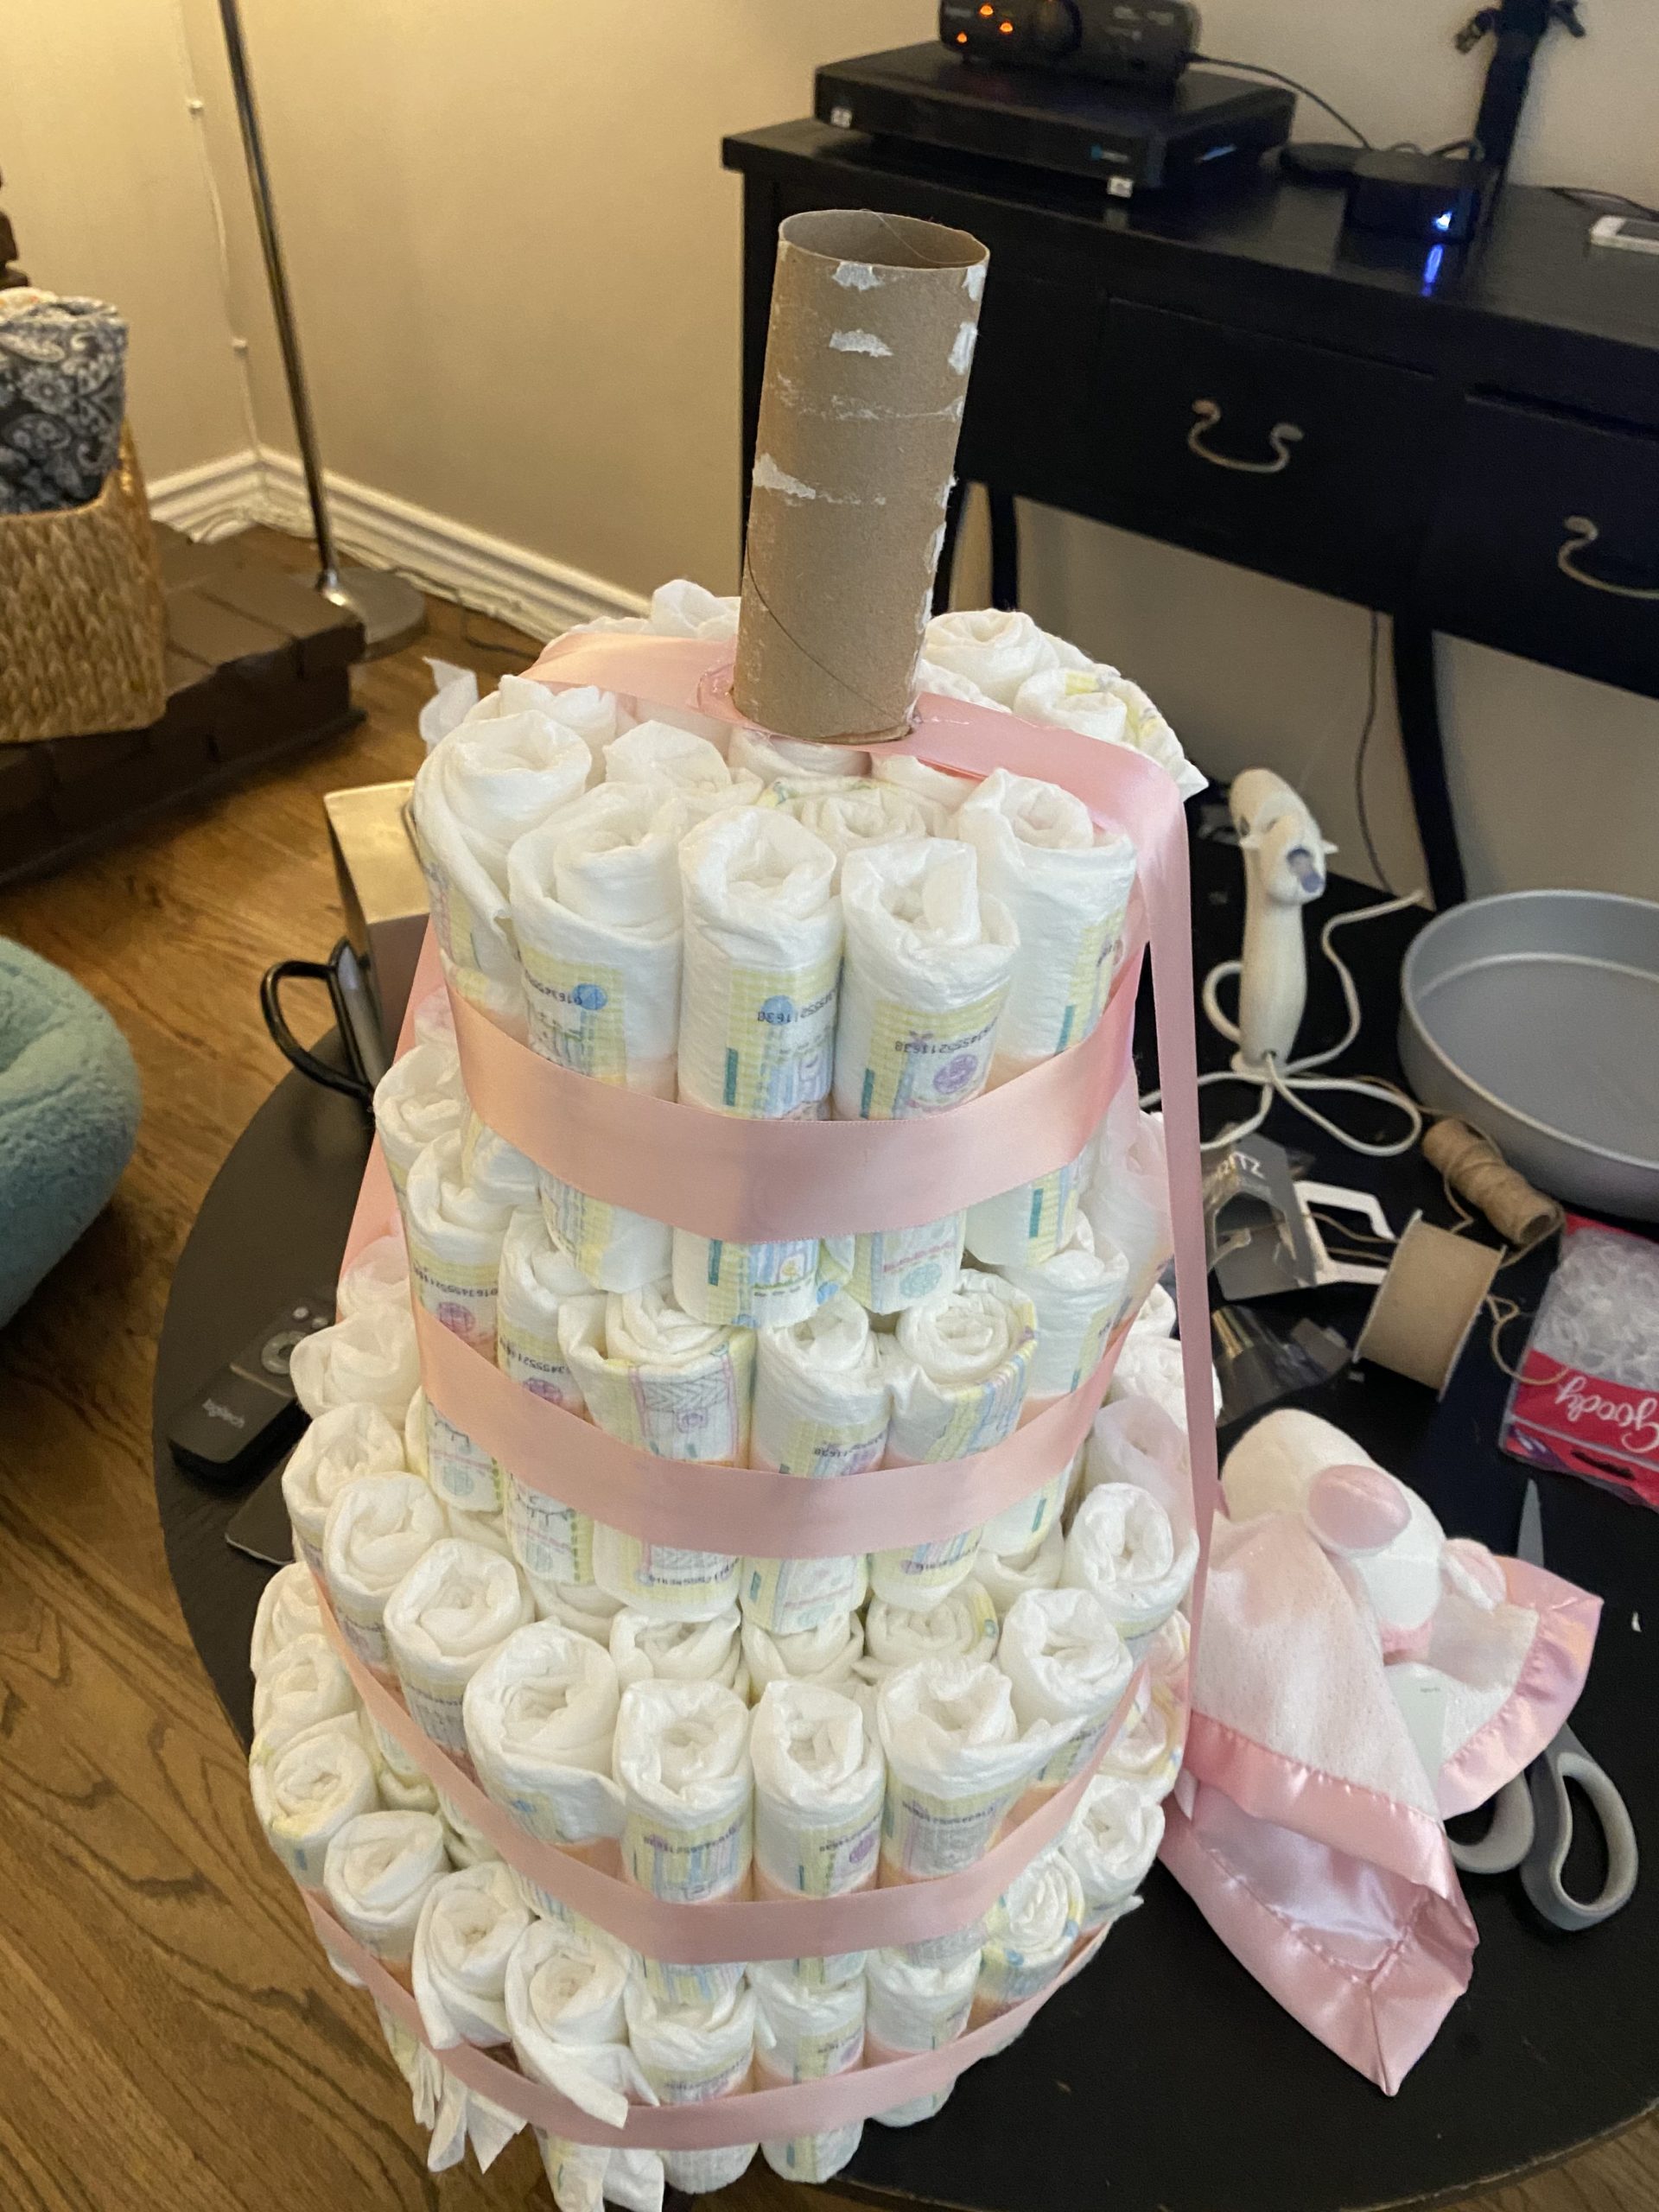
After finishing each tier, wrap ribbon around the layers to cover the twine/rubber bands. I used hot glue to assemble it in the back.
If you made extra layers or just like the look of more ribbon, wrap a long piece of ribbon from the bottom and assemble on top.
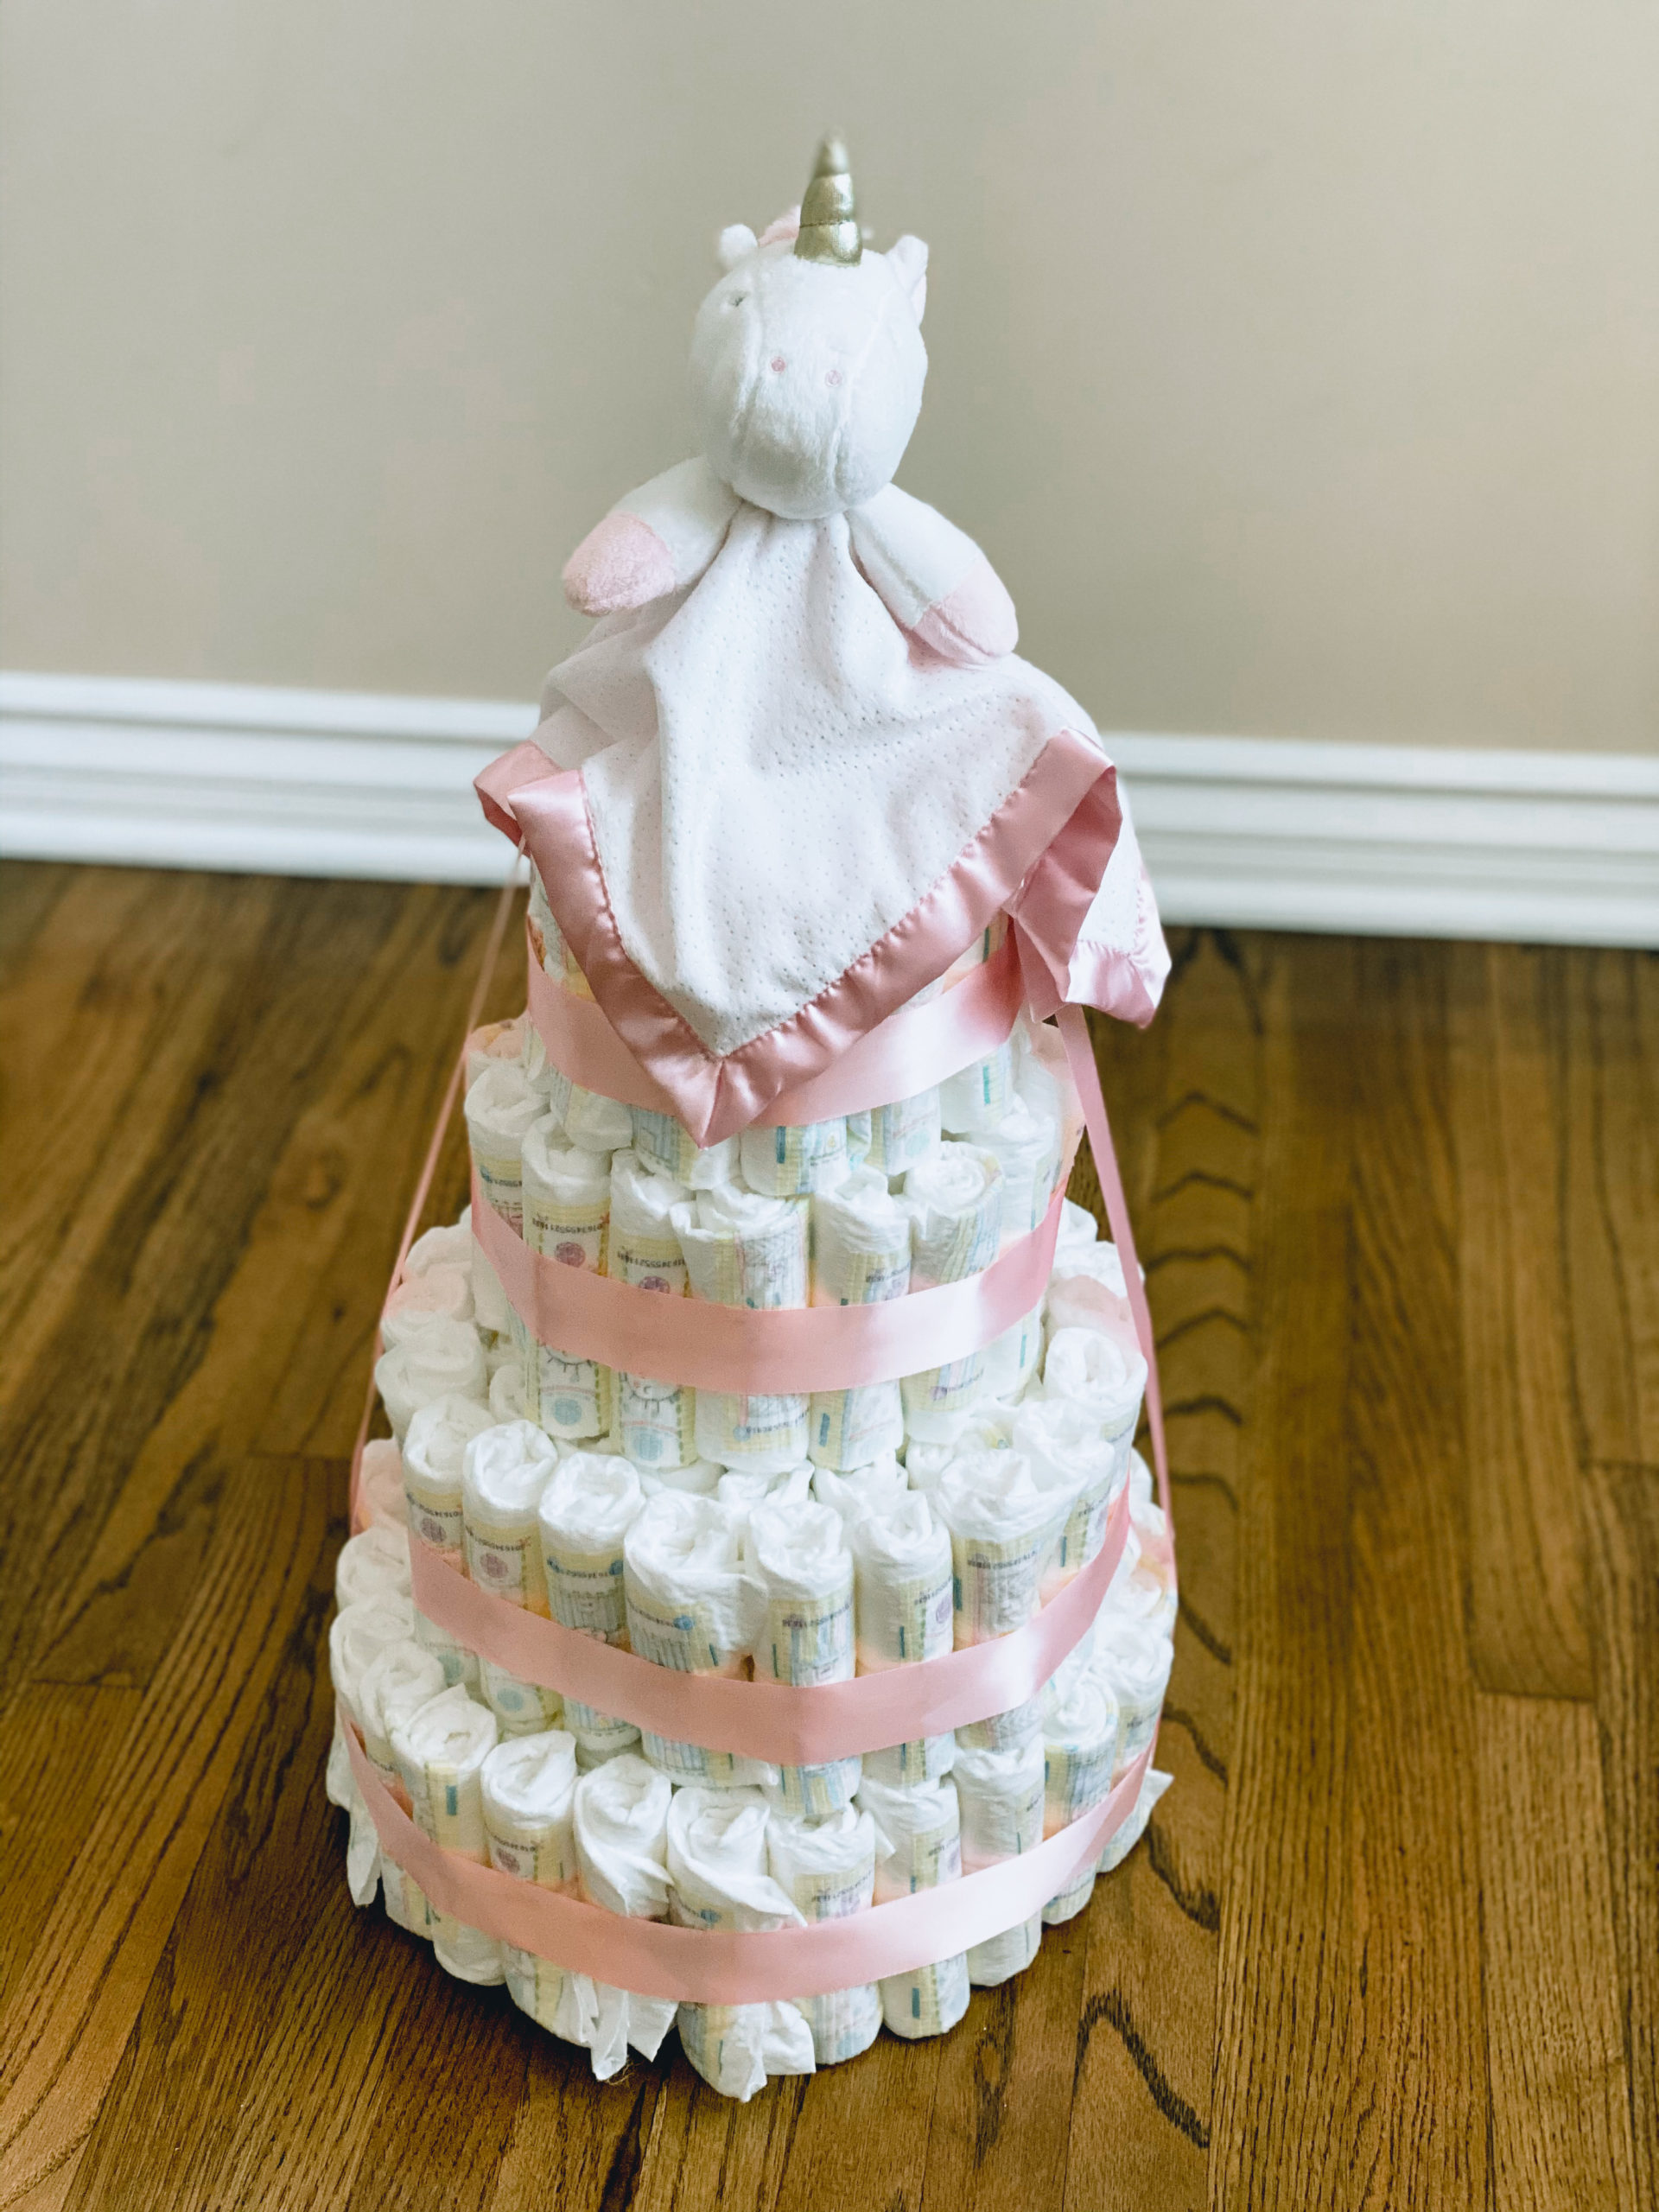
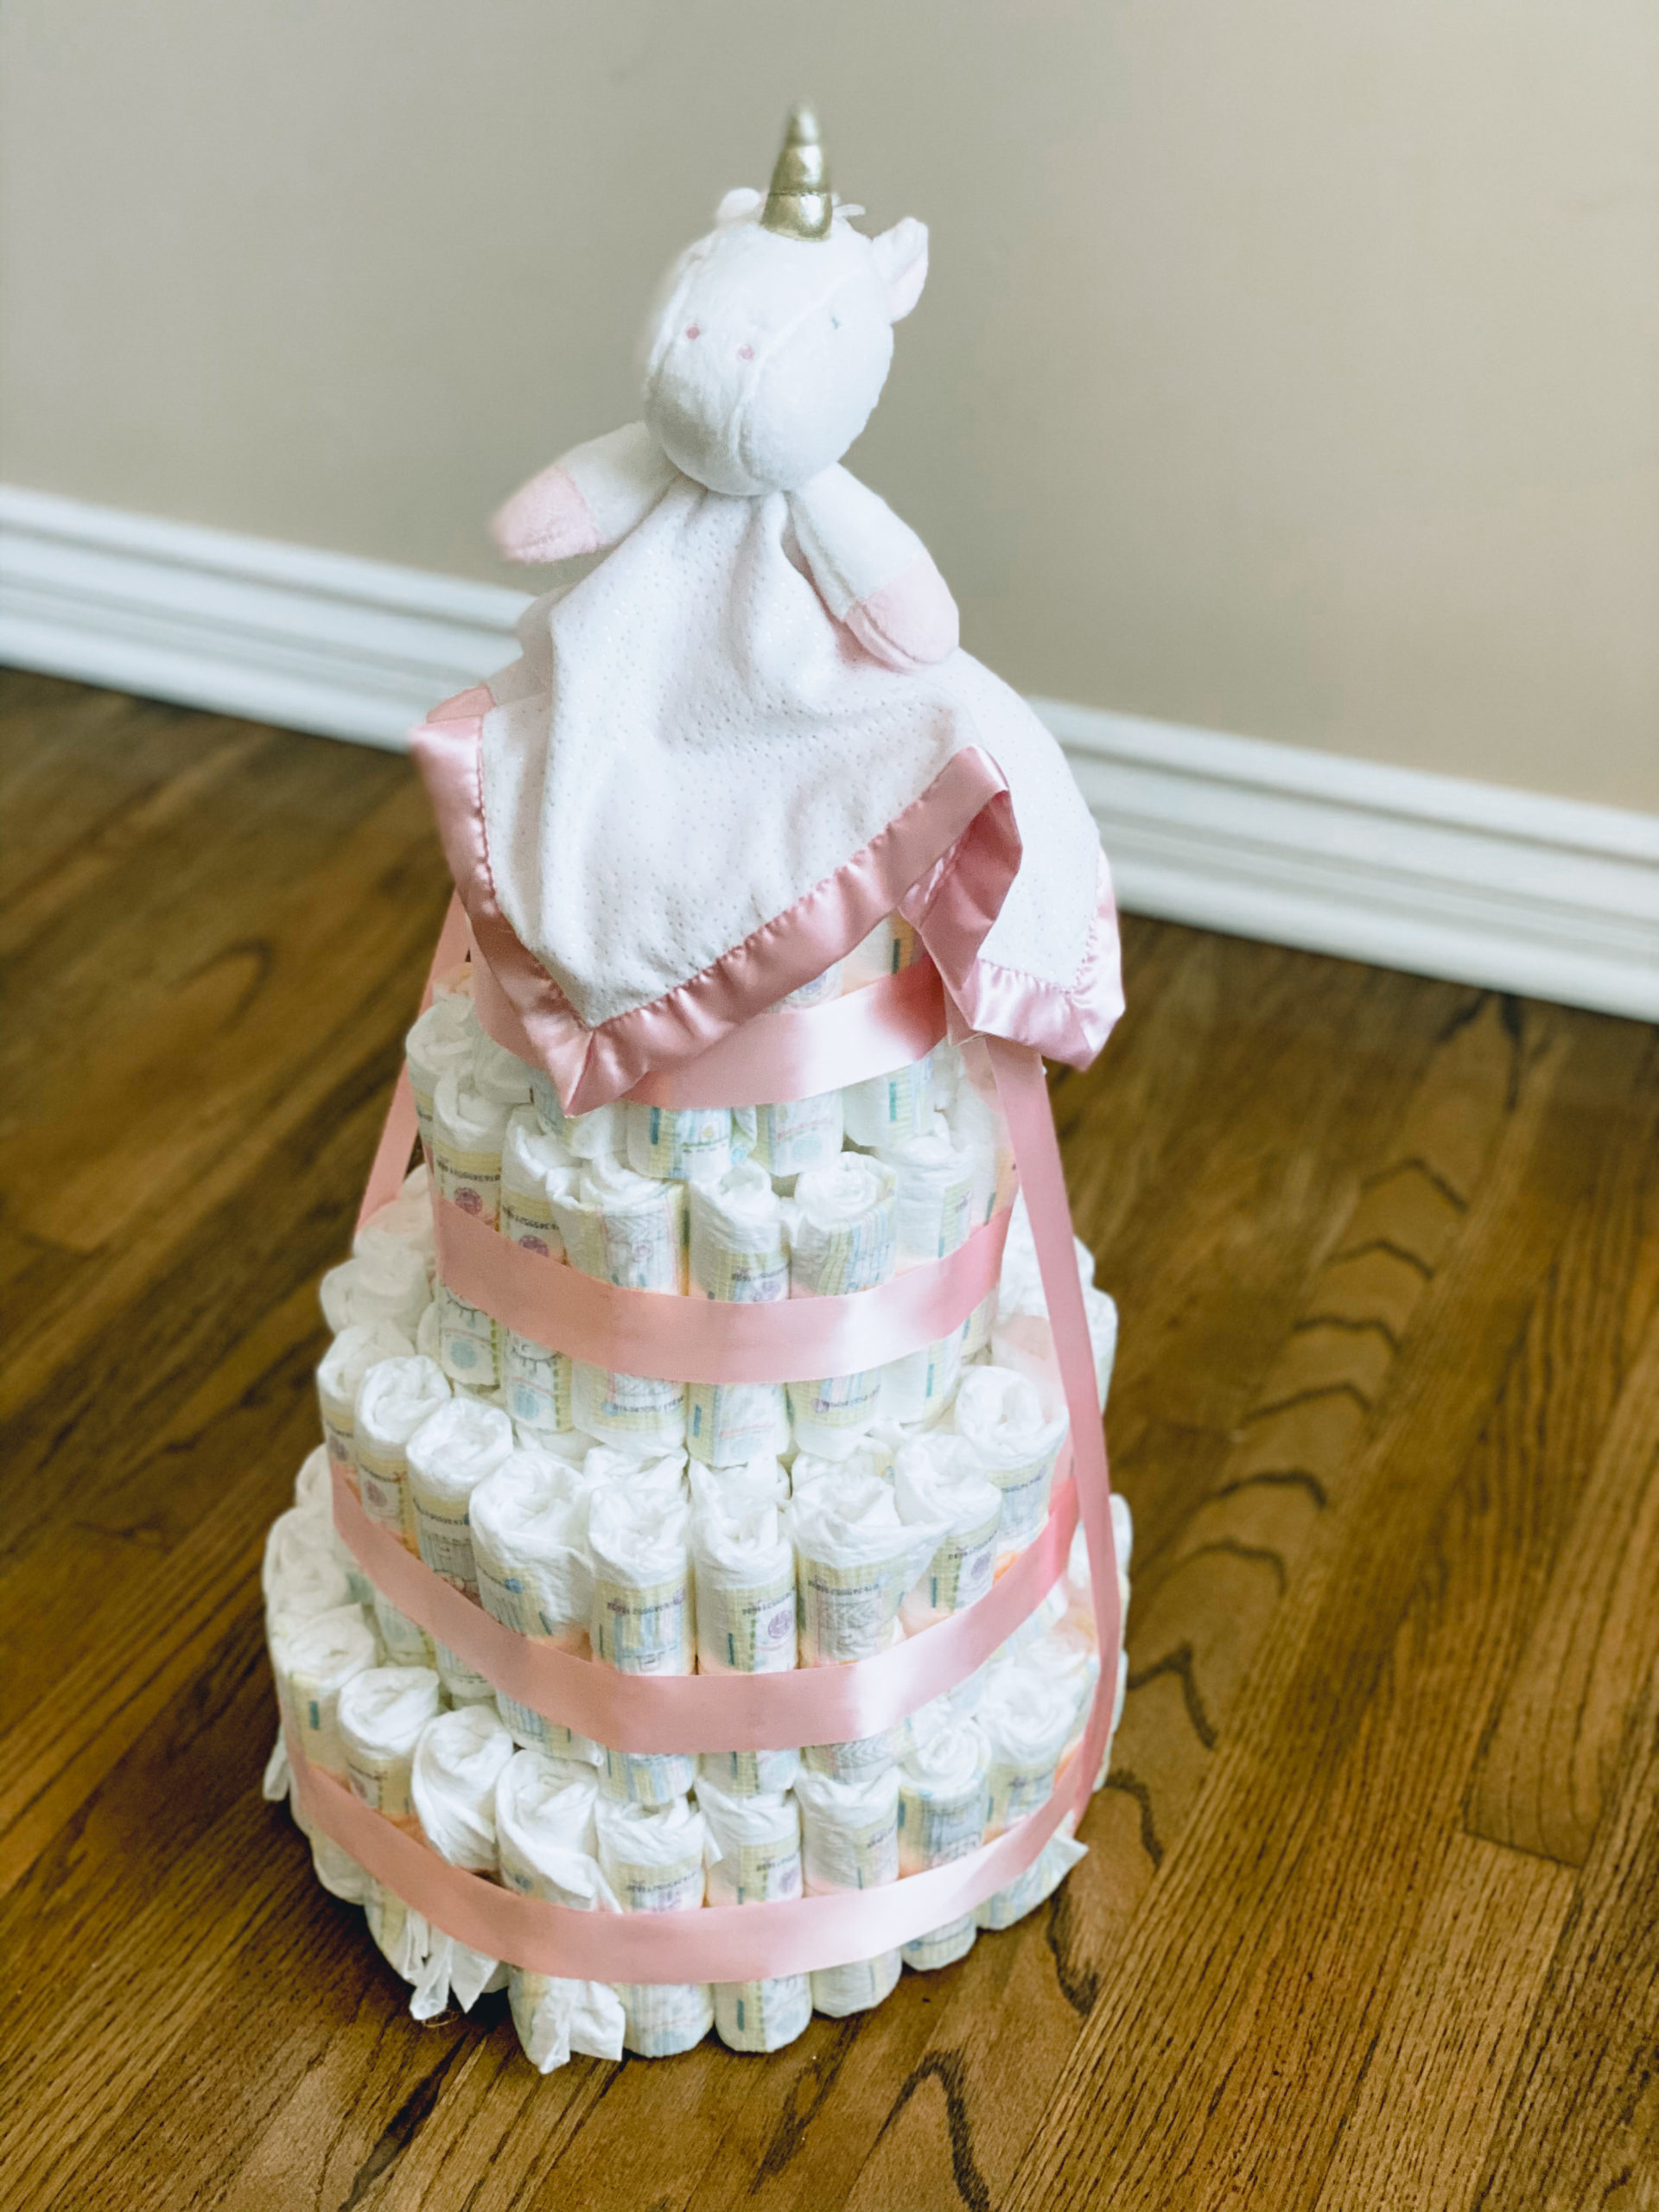
I couldn’t find a bow I liked to stick on top so I went with the unicorn security blanket as a topper instead. I hot glued a toilet paper roll to the top so the unicorn would sit up. To keep the unicorn in place, I used double stick tape around the roll and stuck the blanket to it. Didn’t budge!
Ta-dah! A cute (and much needed for babies) diaper cake!
Are you a diaper cake pro? Have you tried one of the elaborate ones like this diaper cake stroller?
Let me know!
- Pampers, 164 count of size 1 diapers
- Paper towel roll
- Toilet paper roll (for topper)
- Cake pan
- Goody clear hair ties
- Ribbon
- Twine
- Rubber bands
- Unicorn security blanket
- Burping cloths
- Bibs
- Washcloths
- Socks
- Bath towels
- Pacifiers
- Baby grooming kit
- Baby bath products
- Bottles
- Rattles
Disclaimer: I may collect a small share of sales from the links on this page.
Just in case you were curious, here’s that onesie I made with my Cricut: